Last Updated on August 25, 2020

Page Speed Improvements

Here are some of the very basic things you can do to improve page speeds. Doing anything beyond the following will require more technical expertise.

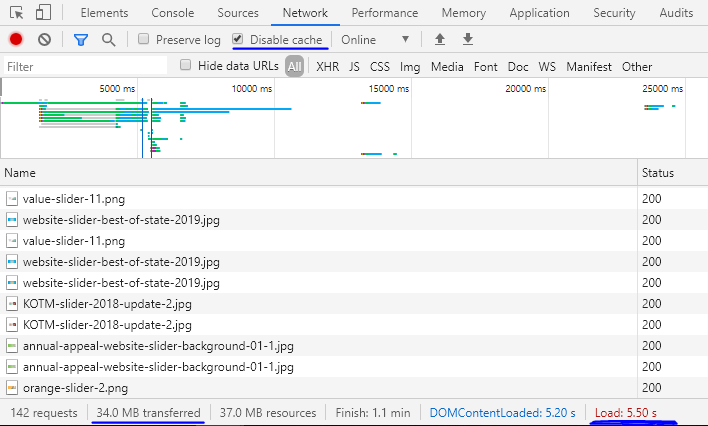
  • Compress Images – My favorite is “Compress JPEG & PNG” by TinyPNG –  https://wordpress.org/plugins/tiny-compress-images/
    • Once you download it you will need to register it with an email address.  I use clientname@sebomarketing.com as the email address and then log in to the catch all inbox to verify the email (you can ask Melodie or Jonny to verify the email).
    • The free version only allows 500 images/month but after the initial round of compressions it will auto compress the images on upload as long as it hasn’t reached its quota for the month.
    • You will find the bulk optimizer option as a sub option under “Media”
  • I also use “Ewww Image Optimizer” by Shane Bishop when TinyPNG is maxed out – https://wordpress.org/plugins/ewww-image-optimizer/
  • W3 Total Cache – https://wordpress.org/plugins/w3-total-cache/
    • Be very careful with settings in this plugin.  Some options will break the website depending on the theme, plugins, and hosting environment.  For beginners, just do the following options and then check the site in an incognito window to make sure everything is still functioning properly.
      • General Settings
        • Enable Page Cache
        • Enable Object Cache
        • Enable Browser Cache

What is gzip compression?

When a user hits your website a call is made to your server to deliver the requested files.

The bigger these files are the longer it’s going to take for them to get to your browser and appear on the screen.

Gzip compresses your webpages and style sheets before sending them over to the browser. This drastically reduces transfer time since the files are much smaller.

In terms of cost versus benefit, gzip compression should be near the top of your page speed optimizations if you don’t have it setup already.

How does it work?

Gzip is actually a fairly simple idea that is extremely powerful when put to good use. Gzip locates similar strings within a text file and replaces those strings temporarily to make the overall file size smaller.

The reason gzip works so well in a web environment is because CSS files and HTML files use a lot of repeated text and have loads of whitespace. Since gzip compresses common strings, this can reduce the size of pages and style sheets by up to 70%!

Gzip has to be enabled on your webserver which is relatively straight forward.

When a browser visits a webserver it checks to see if the server has gzip enabled and requests the webpage. If it’s enabled it receives the gzip file which is significantly smaller and if it isn’t, it still receives the page, only the uncompressed version which is much larger.

Why is it important?

The main reason it is important is because it reduces the time it takes for a website to transfer the page files and style sheets which ultimately reduces the load time of your website.

Enable GZip on WebFaction

Do you want to setup Google AMP on your WordPress site? Accelerated mobile pages or AMP is a way to make your website load faster on mobile devices. Fast loading websites offer better user experience and can improve your traffic…

https://www.wpbeginner.com/wp-tutorials/how-to-properly-setup-google-amp-on-your-wordpress-site/

AMP pages load incredibly fast but there are a lot of tradeoffs when using AMP. To make it load faster they strip out most of the javascript and other functionality leaving just the bare content and sometimes not even a form to collect leads with. They also make it really hard to switch to the non-AMP version of the website.

  • Be aware that the basic functionality of AMP on WordPress only does blog posts and not standard pages.
  • Be sure to either add a plugin that adds Google Analytics to AMP or modify the theme file so that it includes GA.


Use W3 Total Cache plugin to help improve load times and performance on the website.  Enabling the options is a game of trial and error as different plugins/themes will have different requirements so you have to test the site periodically as you make changes in the settings.

Here is a tutorial by a third-party website for W3Total Cache

https://onlinemediamasters.com/w3-total-cache-settings/

The Autoptimize plugin is useful in reducing the number of javascript files and css files that need to be rendered by combing multiple files into one minified file.  When working with this plugin you want to start with the basic settings and make sure everything still functions right before fine tuning some of the advanced settings.  As you begin to adjust the advanced settings check the site thoroughly to make sure that you aren’t breaking any functionality.

The following video is a tutorial by some dude that has some useful information.

GTMetrix is a useful tool to show us areas that need improvement for a website.

WebPageTest.org is another useful tool to show us areas that need improvement for a website.

What is Luhnar?

Luhnar.com is a content delivery network (CDN) that fixes page speed problems without having to upgrade your server.

How do I see if Luhnar will be good for my client’s website?

Set Up the Preview

  1. Go to Luhnar.com, sign in with the Sebo login.
  2. Under the Websites tab, select “+”
  3. Select the “Personal” organization (if you feel like your client will likely sign up, create a separate organization for them under the Account tab, this way we can set up billing for just that client. Or as an MC you may set up your own Organization and pay for you clients with your card).
  4. Enter the requested Information (website name, domain, etc.) & select next.
  5. Wait for the site to fully load in their program, once it’s ready to view, you will see the normal domain and the Luhnar test domain for the site (preview.rhith.io). Open both links into new tabs.

Testing Site Speed

Wait at least 15+ minutes before testing out the page speed to give Luhnar sufficient time to optimize

Local Page Speed Test

  1. In each tab, right click the screen and select “inspect”
  2. In the opened inspect window select Network and make sure the “Disable cache” box is checked
  3. Refresh both pages
  4. In the inspect window notice the following:
    1. MB transferred, if this number is low, check that Disable cache is checked, and be sure to clear your site’s cache.
    2. Load: this will show you how long it took the site to load
    3. Compare the original with the Luhnar load speed, above is for kotm.org, below shows the speed with Luhnar

Remote Page Speed Test

You’ll want to check the speed difference for the site from a different location, we can do so with webpagetest.org


  1. Open two tabs for webpagetest.org so you can compare the sites and enter the website URL and preview site URL (one in each opened tab) and select Start Test
    1. Wait a couple minutes for the tests to run. Webpagetest.org will run 3 tests on each site to get the most accurate reading.
    2. Once it’s finished, notice the following:
  2. kotm.preview.rhith.io
      1. Load time: if it doesn’t look better in Luhnar it might not be fully ready to be tested yet, wait a few minutes and try again. If it still doesn’t look better, let Erika know to reach out to Luhnar as there might be something else going on with the website they can try to work through
      2. Last painted hero: this is the last visible change that takes place on the website
      3. First CPU idle: this is when the page is first expected to be usable
      4. Bytes in: Luhnar is trying to save bandwidth, you can see this in action with this metric, as with Luhnar, bytes in should be lower

Video Comparison

  1. After running the webpagetest.org tests for both sites, select Test History
  2. You should see the two tests, select the boxes next to the ones you want to compare and then select “compare”
  1. Once the page loads select “Create Video” – a button on the middle right side of the page
  2. You’ll be able to watch both sites load side by side, when the timer stops and the picture goes grey, it means the page is done loading and that’s how long it took.
  3. You can download the video and send it to your client to show them the difference, or send them the link to the video, here’s the KOTM video:

Google’s Page Speed Insights

developers.google.com/speed/pagespeed/insights/

  1. Open two tabs so you can test both sites, enter the URLs and select analyze.
  2. This will just give you more information, however the guy at Luhnar said to take some of this data with a grain of salt. You should be able to compare the mobile and desktop speed for the site with and without luhnar. They said generally they see a pretty big improvement on the mobile side and less for desktop, that has been my experience as well.

Cost and Getting Set Up

Cost

Luhnar has 3 packages:

  1. $5/month – capped for traffic, good for sites with only about 30 visitors/day (5GB of traffic). Includes image optimization but not CSS or Java optimization.
  2. $15/month – good for sites with 50 – 60 visitors/day. Same optimization as the $5/month package
  3. $25/month – 100GB included, shouldn’t create any issues with traffic for any site, $0.10/GB for overages, so very affordable if a site does go over the 100GB. Includes image, CSS, and Java optimization.

Getting Set Up

  1. If not already there, navigate to the website you created under Websites on Luhnar.com
  2. Change the Managing Org. to either the client one or MC one you created (you can create a separate organization under the Account tab, this way we can set up billing for just that client. Or as an MC you may set up an Organization under your name and pay for your clients with your card).
  3. Service Plan: select the service plan you want, I highly recommend the Business Accelerator over the other 2 options.
  4. Scroll down and select “Finish Setup” – At this point you’ll likely need the tech team to finish the set up as it involves changing DNS records. In order to do this, we will need access to their Domain (Godaddy or other registrar for DNS access).


***Important note*** Luhnar does not automatically purge their cache of your site, because of this, if you or your client makes any changes, you will need to go to the website within Luhnar, select Cache Purge and manually purge Luhnar’s cache. They are working on a solution to make this automatic.

Use WebP Express to make images serve in Next Gen format.